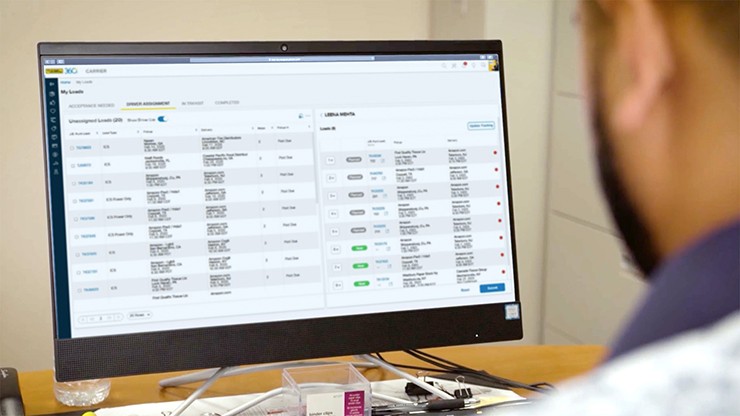
Carrier 360 Fleet Management: Assigning Multiple Loads to a Driver

Efficiency and visibility are keys to keeping a trucking fleet moving. For drivers, staying up-to-date on load assignments can be challenging, especially when there’s a last-minute change or reroute. For dispatchers, Carrier 360 makes it easy to pre-plan trips, update load assignments and stay on top of delivery status for every driver – all without making a single phone call.
Assigning loads is simple – and adjusting assignments is easy, too! Encourage your drivers to download the Carrier 360 mobile app so they can see their planned loads, streamline check calls and upload documents.
When a user with booking access assigns a driver through Carrier 360, they can also edit the assignment and monitor tracking for the load. When drivers have tracking set up (via Carrier 360 or through ELD integration), arrival check calls are automated, eliminating even more time-consuming phone calls.
Here's how to assign multiple loads in Carrier 360:
1. In the Driver Assignment tab on the My Loads screen, select Show Driver List
2. Once selected, an Available Drivers box will appear and you can choose or search for the driver you’d like to assign multiple loads to
a. Or, add a new driver by clicking New Driver (Note: Drivers must have a Carrier 360 account to see their assigned loads. Accounts are free for drivers and we encourage you to have them download the mobile app. Assigning a load to a driver does not automatically create an account for the driver.)
b. Bookmark a driver by selecting the Star icon next to the driver’s name
3. To assign loads, select the checkboxes next to the loads you’d like to assign
4. Click Add Selected Loads in the Available Drivers tab to assign the loads
a. If the driver already has load assignments, the driver’s load list will indicate “Planned” and “New” assignments
5. Complete the load assignment by clicking the Add Selected Loads button
6. Choose the tracking method for the driver by selecting Update Current Tracking Method and click Save when complete (Learn more about tracking here)
a. NOTE: Carriers using API tracking will not see Update Current Tracking Method pop-up
After assigning a load, it will be considered dispatched when the assigned driver taps “Begin Route” on the Current Assignment screen in the Carrier 360 mobile app or when a user with booking access completes the first arrival check call for the load on behalf of the driver using Carrier 360 desktop or mobile app.
Using Carrier 360, you can also change the order of assigned loads, unassign a driver from a load or update the tracking method. No phone call necessary!
For specific step-by-step instructions on how to assign multiple loads to a driver, click here to watch a video.
Need help getting your first load assignments set up?
We'd love to help! Contact Carrier Support at 360CarrierSupport@jbhunt.com or 1-833-211-4392.

